REVIEW · FLORENCE
Florence: Private Photo Walking Tour
Book on GetYourGuide →Operated by YourDreamPictures · Bookable on GetYourGuide
Florence looks different through a camera lesson. A private photo walk lets you slow down, look closer, and frame the Renaissance city in ways most people miss. It’s led by a professional photographer and built around real shooting practice, not a lecture.
I like that it adapts to you. If you’re using a phone or a film camera, you’ll get useful guidance and a pace that matches your level. That also means you’ll see the Duomo, Piazza della Signoria, Ponte Vecchio, and Piazza della Repubblica, but with angles that feel personal.
One thing to consider: this is a photo-focused walk, not an art-and-history tour. If you want deep explanations about what you’re seeing, you’ll need to add that separately.
In This Review
- Quick hits: what makes this Florence photo walk worth your time
- Florence’s Photo Walk: why the city becomes easier to photograph
- Meet YourDreamPictures photographer, with real practice (often with Eva)
- The start at Piazza della Repubblica (and how not to waste the first 10 minutes)
- Piazza della Repubblica: using a busy square as a composition exercise
- Duomo area: turning bright stone and big shapes into better exposures
- Piazza della Signoria: practice framing sculptures and story angles
- Ponte Vecchio: reflections, depth, and shooting where the light changes
- Flexible route: how the tour avoids the one-size-fits-all problem
- What you actually learn: lighting, composition, and the camera settings that matter
- Cameras, phones, and film: you do not need special gear to participate
- Duration and pace: choosing the right length for the photos you want
- Who this tour is best for (and who might want something else)
- Price and value: $158.60 per group for up to 6 people
- Practical details that can make or break your photo results
- Should you book this Florence Photo Walk?
- FAQ
- FAQ
- How long is the Florence Private Photo Walking Tour?
- Is this tour private?
- What does the tour cost?
- Where do we meet in Florence?
- What sights are usually included?
- Do I need to bring a camera or phone?
- What languages are the instructor and tour available in?
- Is there free cancellation?
Quick hits: what makes this Florence photo walk worth your time
- Professional guidance for cameras and phones so you’re not guessing at settings
- Lighting and composition tips you can apply immediately while you walk
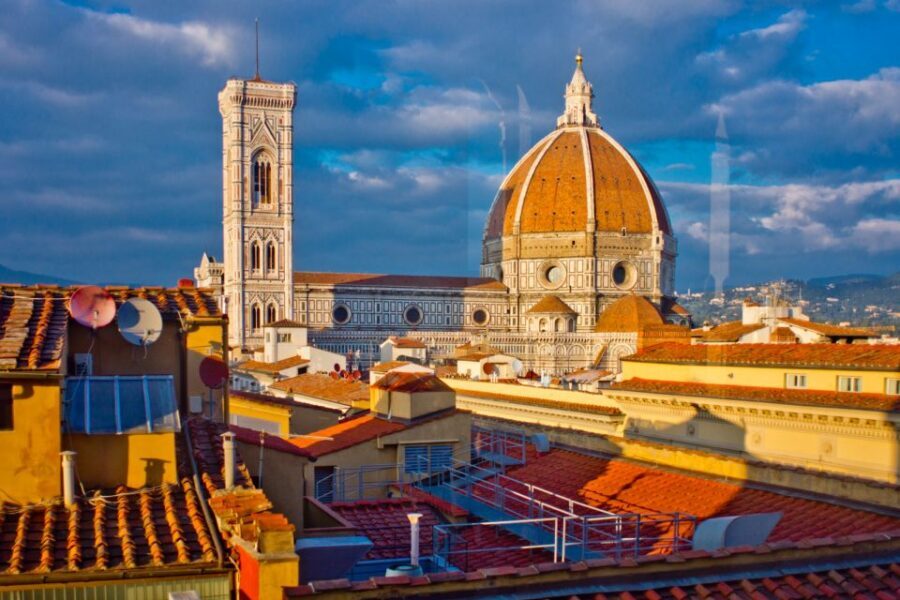
- A flexible route that usually covers the Duomo area and the big central sights
- Small private group (priced for a group up to 6) for more attention
- Film and technical topics are welcome like aperture, shutter speed, focus, and dynamic range
Florence’s Photo Walk: why the city becomes easier to photograph
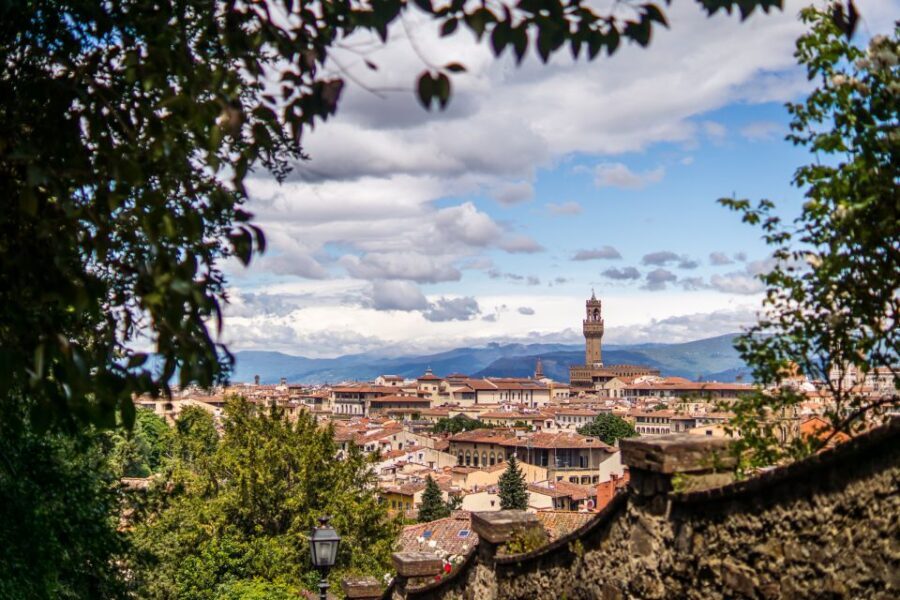
The strength of this kind of experience is simple: Florence is beautiful, but it’s also busy, bright, and full of tall stone surfaces that can fool your camera. When you get a photographer in your ear, you stop chasing perfect views and start making better pictures on purpose.
You’ll walk through classic central Florence and then spend time practicing how to see. That matters because the best souvenir photo is rarely the one you saw on Instagram. It’s the one that shows how you noticed the city.
The walk is also private, so it doesn’t feel like a cattle-call around the landmarks. You can ask questions, try a setting, look at the result, and adjust right away. That’s how improvement actually sticks.
You can also read our reviews of more walking tours in Florence
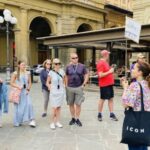
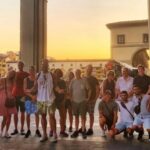
Meet YourDreamPictures photographer, with real practice (often with Eva)
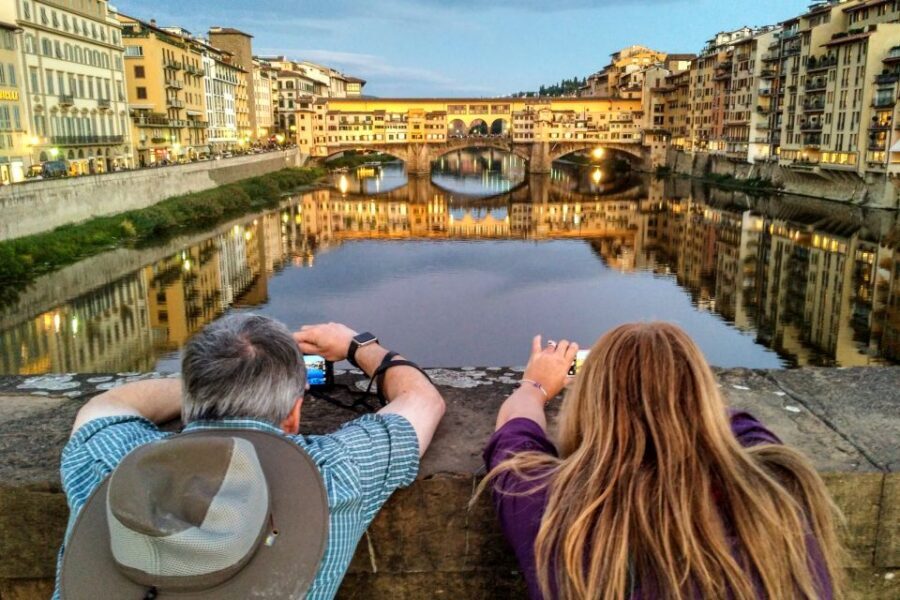
The tour is run by YourDreamPictures, and the photographer you meet will work with your gear and comfort level. In one recent session, the photographer was Eva, and she walked people step by step through a film camera, including aperture, shutter speed, focus, and dynamic range. You can feel the difference when instruction is practical instead of theoretical.
Another group learned essential travel photography tips for both a camera and an iPhone. The key detail I love here is that the instructor asks what you want to learn, then teaches methodically. That keeps the tour from turning into random tips you won’t use.
What you should expect from your guide: clear explanations, room to experiment, and a focus on technique you can repeat later. Even if you’re already comfortable behind the lens, you’ll still pick up framing and exposure habits that make Florence look more intentional.
The start at Piazza della Repubblica (and how not to waste the first 10 minutes)
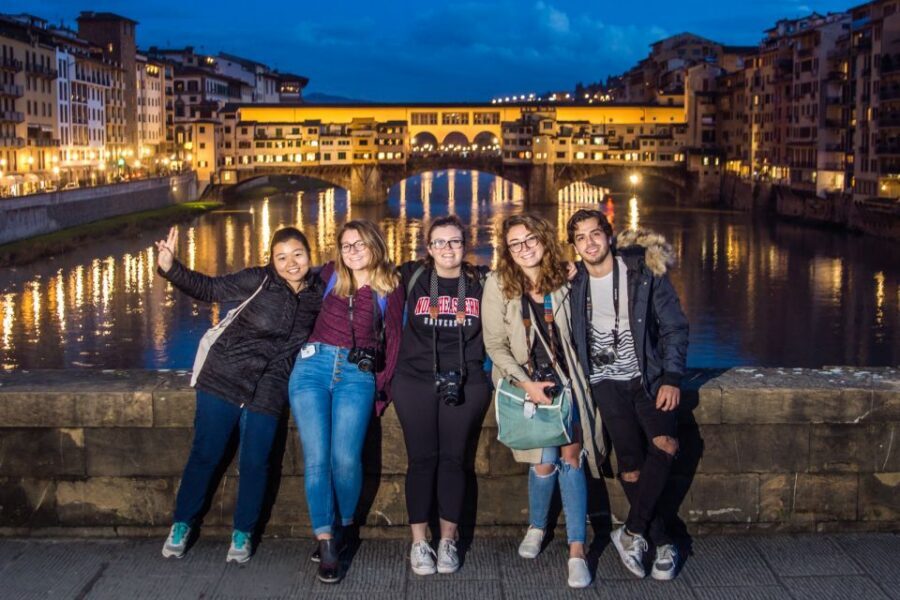
You’ll meet in Florence at Piazza della Repubblica, right at the entrance of the Michael Kors store. That’s a convenient starting hub because it puts you close to the heart of the city without making you travel across town first.
In real life, the first few minutes decide whether you’ll enjoy the day. Arrive with a plan for what you want from the photos:
- If you want cleaner composition, think about what you’ll include or leave out.
- If you want better exposure, decide what you care about more: bright highlights or shadow detail.
- If you want phone photos that look more “camera-like,” be ready to experiment with basic controls your phone offers.
Wear comfortable shoes. This is a walking experience, and you’ll want energy for the shooting stops, not sore feet that make you rush.
Piazza della Repubblica: using a busy square as a composition exercise
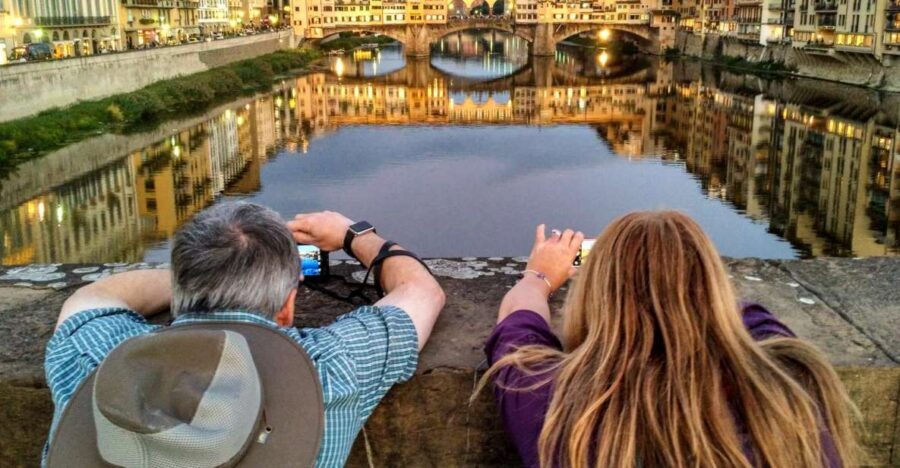
Piazza della Repubblica is the kind of place that tempts you to shoot the widest scene possible. The problem is that it often creates photos that feel crowded or flat, especially if you’re dealing with harsh daylight and lots of moving people.
On this tour, you’ll use the square as a training ground for composition. Instead of only photographing the obvious, you’ll learn how to guide the eye through your frame. That can mean using lines in the architecture, choosing a foreground subject, or adjusting where the brightest areas sit in the photo.
A practical bonus: this is where many people begin imagining their “Florence photos” for the day. With a photographer coaching your framing, you’ll get a sense of how to keep your photos from looking like generic postcards.
Duomo area: turning bright stone and big shapes into better exposures
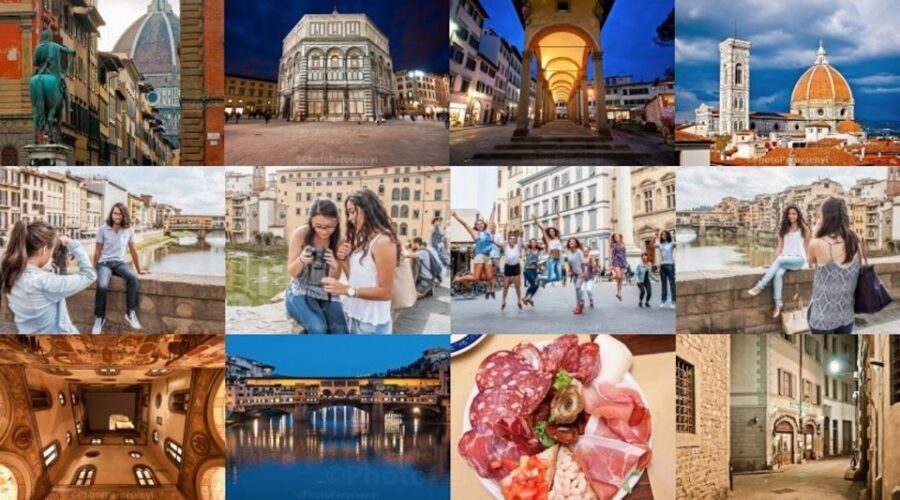
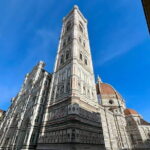
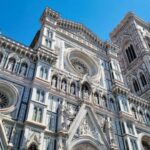
Florence’s Duomo area can be hard to photograph well. The scale is massive, the surfaces are reflective, and the light can change quickly as you move from shaded streets into sun.
This is where the photo walk pays off because you’re not just walking past the landmark. You’re learning how to handle the camera part. Tips on lighting and composition help you avoid two common problems:
- Highlights blowing out on pale stone.
- Shadows turning into black blobs.
If you’re shooting a film camera, the instruction can go deeper, including concepts like dynamic range, focus, and the balance of aperture and shutter speed. If you’re on a phone, you’ll still get essential guidance for how to get a more controlled look while traveling.
Even advanced photographers tend to like this segment. One group felt confident before the tour, yet still found something new because the teaching stays tied to what’s in front of you, not abstract rules.
You can also read our reviews of more private tours in Florence


Piazza della Signoria: practice framing sculptures and story angles
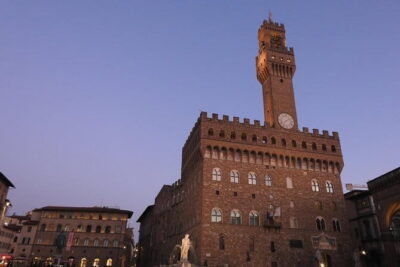
Piazza della Signoria is perfect for learning how to build a photo that has structure. Statues, strong geometry, and repeating details give you multiple “visual anchors” to build around.
The value here is that you’ll move from landmark shooting to picture making. You’ll likely spend time thinking about:
- Subject placement (what’s centered, what’s off to the side, what creates balance)
- Background control (what you include so your image doesn’t look messy)
- Perspective choices (low angle vs. eye level vs. tighter crop)
If you’ve ever tried to photograph a statue and ended up with a photo that’s technically sharp but visually boring, this is where you’ll get ideas for making the image feel intentional. And since the itinerary is flexible, your guide can adjust the route so you’re not only photographing from one predictable spot.
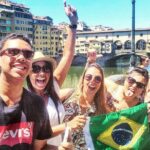
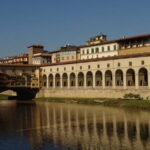
Ponte Vecchio: reflections, depth, and shooting where the light changes
Ponte Vecchio is one of those Florence scenes that looks good no matter what, which makes it easy to underthink it. But it’s also full of challenges: bright areas, darker under-views, and plenty of surfaces that can reflect light.
This stop is ideal for learning how to create depth and separation. Even small choices—what you place in the foreground, where your subject sits relative to the bridge structure, how you manage bright highlights—can turn a decent shot into a memorable one.
If your guide is working with film or teaching more technical concepts, Ponte Vecchio is a great setting to connect exposure choices to real results. For phone shooters, it’s a strong place to practice stable framing and thoughtful timing, because the scene pulls your attention in many directions.
Either way, the goal isn’t to take 50 nearly identical photos. It’s to leave with a few frames that show you understand how light and composition work in a real street setting.
Flexible route: how the tour avoids the one-size-fits-all problem
One of the best practical elements is that the itinerary is flexible. Most of the time, the main sights are covered, including the Duomo, Piazza della Signoria, Ponte Vecchio, and Piazza della Repubblica. But the order, exact side-street moments, and photo stops can shift based on what you need and what your group is ready for.
This flexibility matters because Florence photography isn’t just about the view. It’s also about timing. Walking from one corner to another can change the quality of light and the background clutter in a big way.
Also, your guide adjusts the level. A fun, easy explanation is available for kids or beginners, including those using cellphones. If you’re advanced, the tour can go into technical details or composition rules. That’s why the same walk can work for someone starting out and someone with a film camera in hand.
What you actually learn: lighting, composition, and the camera settings that matter
The tour’s core value is not the landmarks. It’s the skill transfer.
You’ll get tips on lighting, composition, and other techniques to create higher-quality images. In practice, the instruction can include:
- Aperture, shutter speed, and focus (especially when shooting with interchangeable cameras or film)
- Dynamic range concepts, which help you understand why some scenes look “better” on a camera that can hold both highlights and shadows
- Practical composition rules you can apply quickly while you’re walking and aiming
The nice part is that the guidance is clear and professional, with explanations suited to your level. That matters more than people think. If you’ve tried to learn photography from a guidebook, you know how easy it is to end up with terms you can’t apply to a real street scene. Here, the teaching is connected to what you’re photographing right now.
And because it’s a walking tour, you don’t get stuck in one spot for too long. You practice, look at results, then move on with better instincts.
Cameras, phones, and film: you do not need special gear to participate
The good news for everyone packing lightly: you don’t need special equipment. Camera equipment isn’t included, so bring what you have—camera or phone. All experience levels and types of equipment are welcome.
If you’re on a phone, you’ll still get essential travel photography tips. One group specifically mentioned improving iPhone photos alongside camera practice. That gives you confidence that the tour won’t treat phones as second-class.
If you’re shooting film, you’re in the right place too. The film-camera session described instruction through each step of using the camera, including exposure-related concepts and focus thinking. That’s a different kind of challenge than digital, and it’s exactly the kind of thing a guided photo walk can tackle.
Duration and pace: choosing the right length for the photos you want
Duration is listed as 2 to 6 hours, depending on availability and starting times. That range is actually useful because it matches different travel styles.
- If you want a quick improvement session, a shorter walk gives you the essentials and a handful of stronger images.
- If you want time to test settings, re-shoot, and ask deeper questions, choose a longer slot.
Because the itinerary is flexible, your guide can pace the experience. And since it’s private for your group, you can spend extra time on what you care about—like learning exposure or refining composition—without feeling rushed.
Who this tour is best for (and who might want something else)
This photo walk is a smart fit if:
- You want better photos but don’t want to spend your whole trip reading a camera manual.
- You enjoy learning through doing, not just watching.
- You’re a beginner, a casual enthusiast, or an experienced photographer who wants new ways to frame Florence.
It also works well for mixed groups because instruction can be adjusted. One couple’s experience included a photography-focused person and a partner who ended up excited about iPhone learning too. If you’re traveling with someone who doesn’t normally care about photography, this format has a good chance of getting them involved.
Who might want another add-on: if you’re mainly craving museum-style explanations about art and history. This walk is not set up as a guided city tour with art or history coverage. It focuses on the camera and the images you make.
Price and value: $158.60 per group for up to 6 people
The price is $158.60 per group (up to 6), with the duration depending on availability. On paper, that can feel like a lot if you compare it to a standard group tour. But you’re not paying for audio commentary. You’re paying for direct coaching, tailored to your gear, plus the time to practice.
With a private group size, you get more focused attention than you would with a larger tour where the instructor can barely see your screen. If you split the cost among a small group, the value gets easier to justify—especially if you’re the person who usually ends up taking photos for everyone else.
Think of it as buying back time and confidence. A few hours with a photographer can help you stop guessing. And that means more of your photos will look like you intended them.
Practical details that can make or break your photo results
A few small choices help you get more out of the day:
- Bring your camera or phone with a battery that’s actually ready to go.
- Wear comfortable shoes so you can keep moving without losing patience.
- Be ready to experiment. Take a shot, look, then adjust. That’s where the learning happens.
Also, entrance fees are normally not required, unless specially requested. And bus tickets are not included, which reinforces that this is mostly a walk, not a hop-on/hop-off style day.
Should you book this Florence Photo Walk?
Book it if you want a practical photography upgrade in the middle of Florence, with a guide who adjusts to your level and your gear. The biggest reasons to say yes are the hands-on focus and the way instruction connects directly to real scenes around the Duomo, Piazza della Signoria, Ponte Vecchio, and Piazza della Repubblica.
Skip it (or pair it with something else) if you want a strict history-and-art guide. This experience is about making images, not delivering deep lectures about monuments.
FAQ
FAQ
How long is the Florence Private Photo Walking Tour?
It runs for 2 to 6 hours, depending on the starting time you choose.
Is this tour private?
Yes. It’s a private group experience.
What does the tour cost?
It is priced at $158.60 per group, for up to 6 people.
Where do we meet in Florence?
You meet in Florence at Piazza della Repubblica, at the entrance of the Michael Kors store.
What sights are usually included?
In most cases, the tour covers major sights such as the Duomo, Piazza della Signoria, Ponte Vecchio, and Piazza della Repubblica.
Do I need to bring a camera or phone?
Yes. Camera equipment is not included, so bring your camera or phone.
What languages are the instructor and tour available in?
The instructor speaks English and Hungarian.
Is there free cancellation?
Yes. You can cancel up to 24 hours in advance for a full refund.

More Walking Tours in Florence
More Tours in Florence


More Tour Reviews in Florence
- Tuscany Day Trip from Florence: Siena, San Gimignano, Pisa and Lunch at a Winery
★ 5.0 · 21,634 reviews - The Best tour in Florence: Renaissance & Medici Tales – guided by a STORYTELLER
★ 5.0 · 12,316 reviews