
REVIEW · FLORENCE
Florence: Painting experience, create your Florentine Lily!
Book on GetYourGuide →Operated by Itinera Experiences · Bookable on GetYourGuide
Gold foil and a Florentine lily: instant satisfaction. This class is a hands-on way to make Florence’s most recognizable emblem with traditional-looking techniques, and you leave with something real you can hang at home. You’ll build a Florentine lily step by step, starting from a marked canvas to a finished piece with a gold background.
I especially like that you get close guidance from Andrea, an expert artist and master with 25 years of experience. I also like the small format: a group limited to 4, so you’re not lost in a big room while someone else speeds ahead.
One consideration: this is a studio workshop only, not a sightseeing route. If you’re hoping to combine the class with lots of walking around Florence in the same window, you may want to plan the workshop for a quieter part of your day, since it runs about 3 hours and focuses on painting.
In This Review
- Quick hits
- The Florentine lily is a souvenir with meaning
- Where you meet: Andrea’s studio on Via Enrico Petrella
- What happens in those 3 hours: carve, dust, connect, gild, paint
- The gold foil technique: why it feels special (and not scary)
- Tempera color choice: make it yours, not copy-and-paste
- Group size and languages: learning that stays personal
- Price and value: what you’re paying for at about $141.61
- Who should book this workshop in Florence
- Booking mindset: how to plan your day around the class
- Should you book this Florentine lily class?
- FAQ
- How long is the painting class?
- Where do I meet Andrea for the workshop?
- What will I create during the class?
- Do I need any painting experience?
- What techniques will I learn?
- What materials are included?
- How many people are in the group?
- What languages does the instructor speak?
- Is this class appropriate for children?
- Can I book now and pay later, and what about cancellation?
Quick hits
- Andrea’s step-by-step teaching makes classic techniques doable for first-timers
- Gilding with gold foil lets you create a glowing lily on a gold field
- Tempera painting finishes the lily in a color you choose
- Small group (up to 4) means more attention and less waiting
- All materials included and you take your painting home
The Florentine lily is a souvenir with meaning
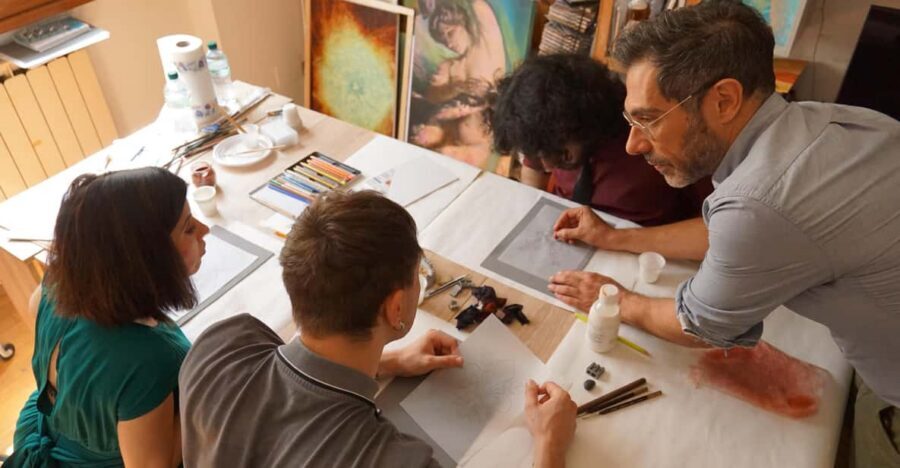
Florence has plenty of postcards and t-shirts. This workshop gives you the symbol behind the city: the Florentine lily. And it’s not just a generic flower outline. You’re building the lily using techniques meant to feel like the work of painters from the past, so your final painting looks purposeful, not rushed.
What makes the lily especially satisfying is the contrast. The design grows out of careful lines and dots, then you add a gold layer that frames the shape. Finally, you paint the lily in your own color choice with tempera, which gives a classic, matte look.
If you’re the type who likes to bring home something you actually made, not just something you bought, this hits the mark. It’s also a great way to slow your trip down for a bit. You’re doing something tactile and creative inside a studio, guided by a real person who can correct your hand and explain the why behind each step.
You can also read our reviews of more tours and experiences in Florence.
- Tuscany Day Trip from Florence: Siena, San Gimignano, Pisa and Lunch at a Winery
★ 5.0 · 21,634 reviews



Where you meet: Andrea’s studio on Via Enrico Petrella
Your class meets at 22 Via Enrico Petrella. When you arrive, buzz the doorbell labeled Bacalini and Andrea will open the door. The studio is on the third floor, and there’s an elevator, which is a nice relief when you’ve got travel bags in tow.
This setup matters more than it sounds. Knowing the exact entrance and that it’s a third-floor studio helps you arrive calm instead of circling buildings. Also, because it’s a small-group workshop, punctuality helps: you’ll start together, move through the techniques in order, and get enough time for each stage.
Once you’re inside, expect a classroom-and-art-studio feel: canvas, tools laid out, and your instructor working directly with you and the group. The experience is designed for hands-on learning, not watching from the sidelines.
What happens in those 3 hours: carve, dust, connect, gild, paint
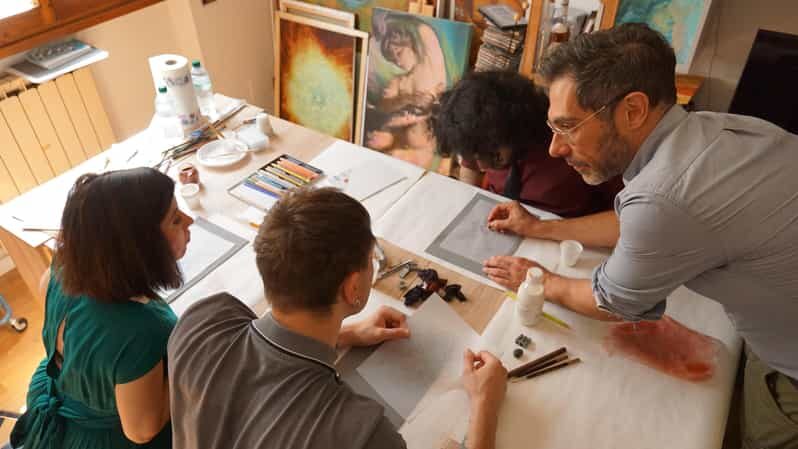
The lesson is built like a mini “old-school craft” process. You’ll start with explanations of the origin of the techniques and the materials you’ll use. Then you jump in.
Here’s the flow you can expect:
1) Carve the lily shape on your canvas (with a small prop)
You’ll use a small tool/prop to press or carve the lily form so it’s positioned correctly before you add any color or gold. This step helps you get the silhouette right without needing advanced drawing skills.
2) Trace with the dusting technique
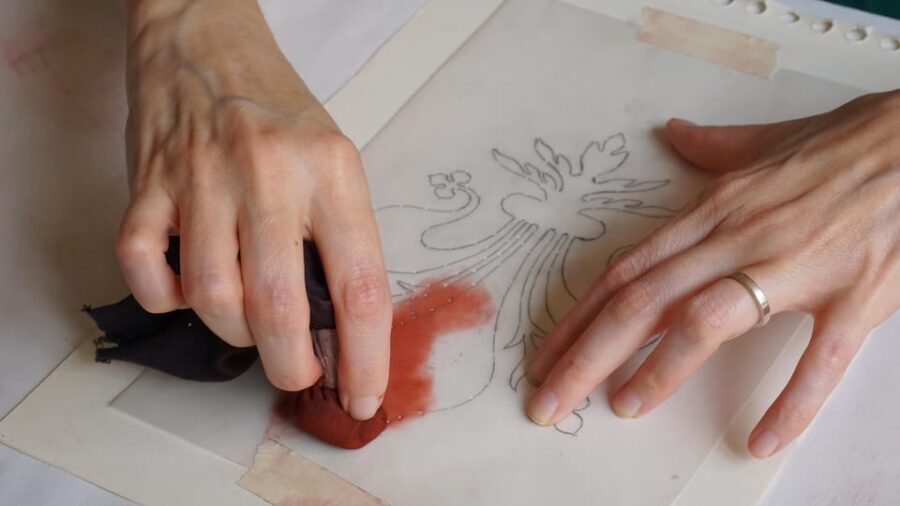
Next comes a tracing step using dusting. The goal is to transfer the lily shape more clearly, so you have guide lines to follow. It’s a “make it accurate first” approach, which is why beginners usually feel comfortable here.
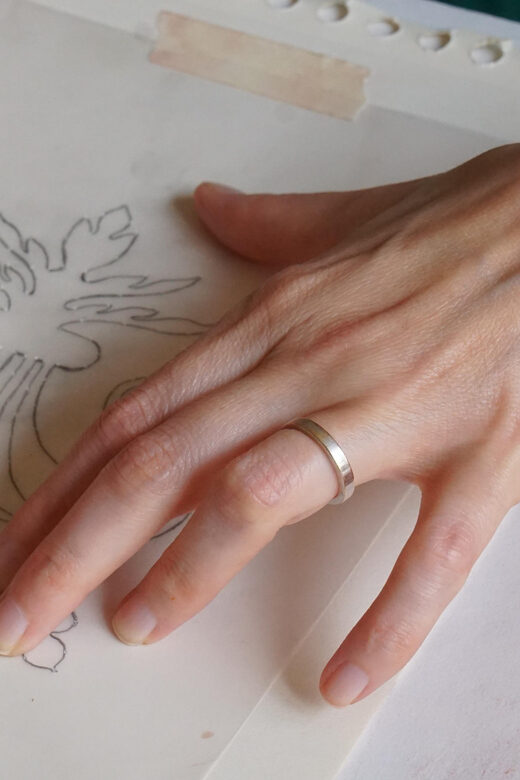
3) Join the dots with pencil
Then you’ll connect the dots that form the image. This is one of those surprisingly calming steps. You’re not freehanding your way through; you’re following a prepared pattern and learning how the final design comes together.
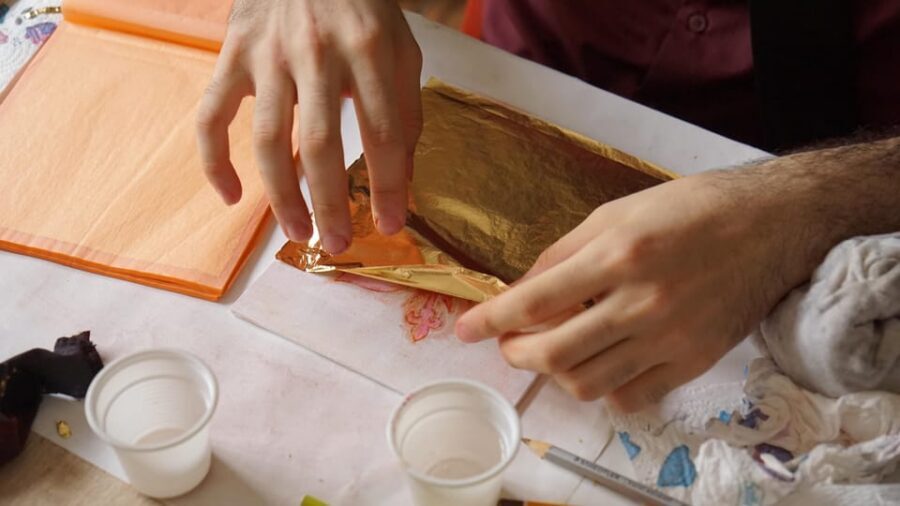
4) Gilding with gold foil (the signature moment)
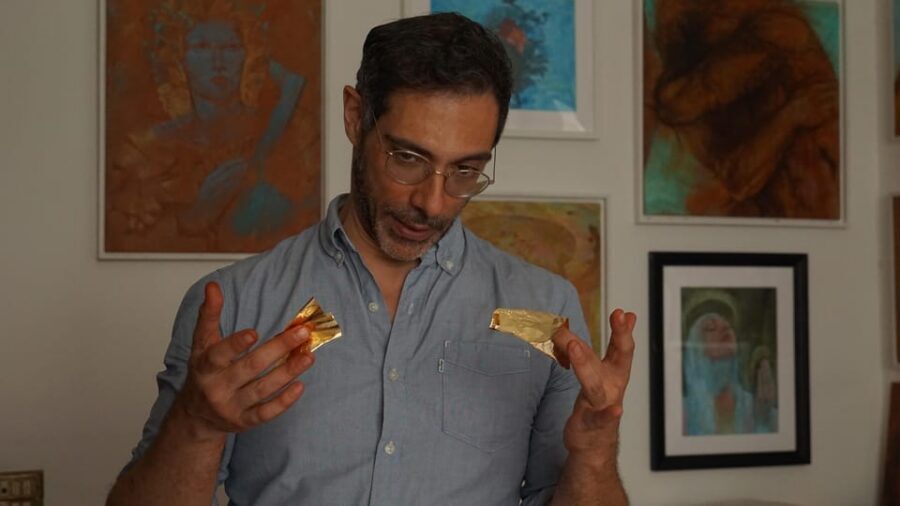
This is the standout technique. You’ll place gold foil onto your painting, then remove it only within the edges of the lily design. The effect is a gold background with the lily area treated in a way that sets up the final painting stage. Even if you’ve never worked with foil before, you get guided through the do’s and don’ts.
5) Tempera painting to color your lily
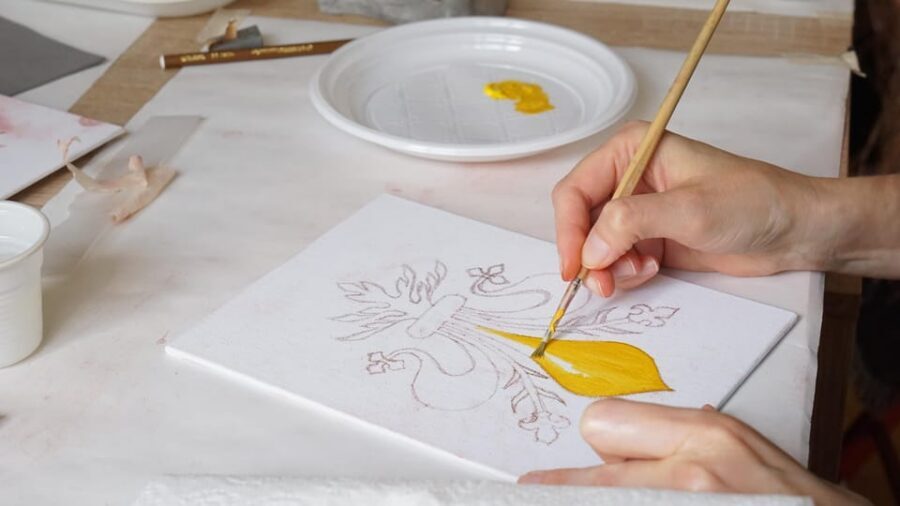
Finally, you paint the lily in a color of your choice using tempera. This last step turns the design from a technical craft into your own artwork. When that color goes on, it’s when the painting stops looking like a template and starts looking like your souvenir.
After that, you can take the artwork home.
The gold foil technique: why it feels special (and not scary)
Gold foil can sound intimidating. In reality, it’s a technique with clear instructions and visible results, so it’s ideal for a short class.
The key idea you’ll practice is controlled removal. You’re not trying to “paint gold” the hard way. You apply gold foil, then you remove it so only certain parts are revealed or left behind, creating that characteristic gold field behind the lily.
What I like about this approach is that it teaches a key concept from traditional decoration: structure first, surface second. You build an image that’s already mapped out with shape guides, then you create the gold effect with a craft technique, then you add color with tempera.
Also, Andrea is known for being patient and encouraging. That matters a lot here. Foil work has a learning curve, and having an instructor who keeps things accessible can turn a potential stress moment into a fun one.
Tempera color choice: make it yours, not copy-and-paste
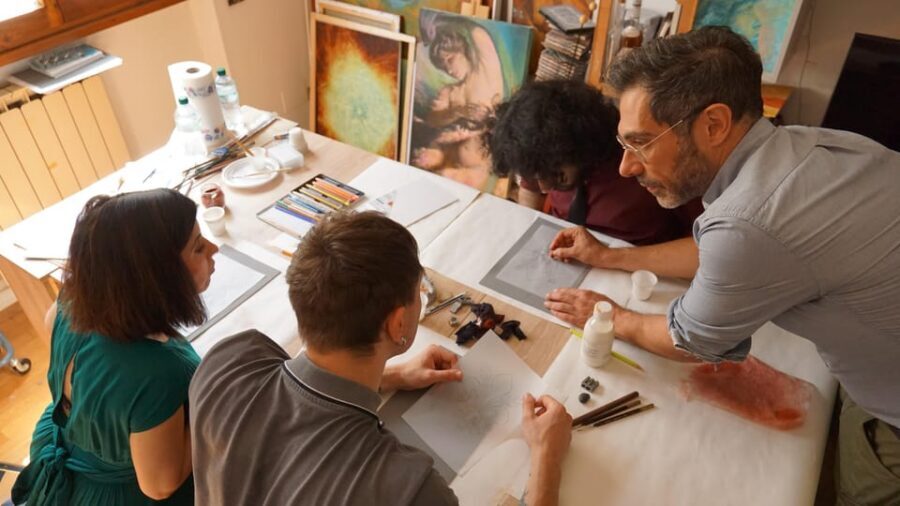
After the gilding, you move to the tempera painting stage. You’ll paint the lily in the color of your choice. That’s your chance to personalize the souvenir without changing the underlying technique.
Tempera tends to give a more traditional look than glossy modern paints. It’s also forgiving in a class setting because you’re working within a defined shape. You’re not expected to invent a masterpiece from scratch. You’re expected to make choices and follow the steps cleanly.
If you’re trying to decide on a color, think about what will look good in a home setting. Gold already takes the spotlight, so your lily color should create contrast without competing with it. Deep greens and warm reds often feel classic with gold, but the point is: you’ll get to pick.
When it’s finished, you won’t just have a lily image. You’ll have a painting that includes all the steps that made it happen: carved structure, traced shape, gilding, then color.
- The Best tour in Florence: Renaissance & Medici Tales – guided by a STORYTELLER
★ 5.0 · 12,316 reviews






Group size and languages: learning that stays personal
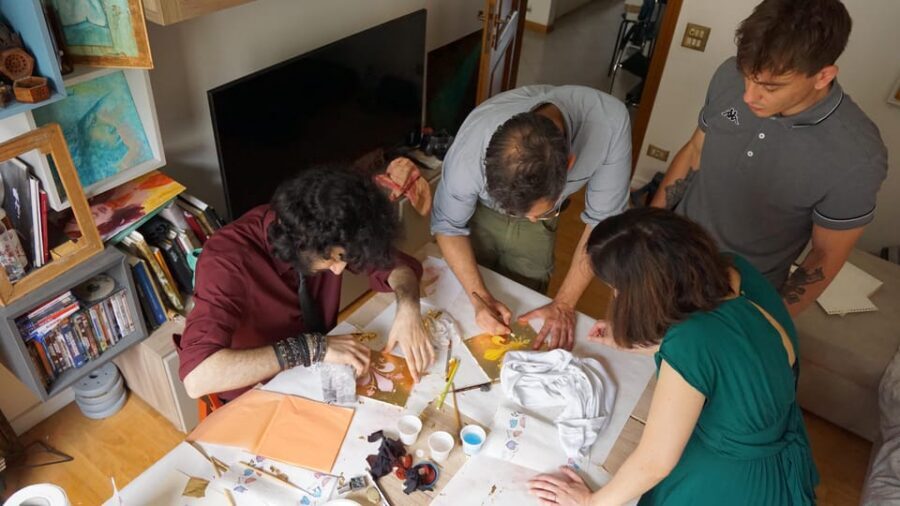
This is a small group class limited to 4 participants. In practical terms, that means Andrea can keep an eye on what each person is doing. You’re not waiting for attention, and you’re more likely to get quick corrections when you need them.
The class is taught in English, Spanish, and Italian. So if your language comfort varies, you should still be able to follow the process and ask questions. That becomes important in a technique-based class, because tiny details in timing and handling can affect the final look.
If you’re a complete beginner, you’ll likely appreciate the pace. The workshop is explicitly suitable for everyone, and the way the lily is broken into stages makes it easier than it sounds.
Price and value: what you’re paying for at about $141.61
The price is $141.61 per person for about 3 hours. At first glance, art classes can feel pricey until you look at what’s included and what you’re taking home.
Here’s the value picture that matters:
- You get all materials: canvas, pencils, brushes, glue, tempera paints, props, and gold foil. That’s the big cost driver people often forget to factor in when comparing classes.
- You get guided instruction: a master with 25 years of experience walks you step by step through a multi-stage process.
- You take home the finished piece: you’re not leaving with a sketchbook page. You leave with a real painting made by your hands.
- You’re not competing for attention: group size is limited to 4, which makes the instruction more effective.
In other words, you’re paying for coaching plus premium-feeling materials, not just the time in a room. For a Florence souvenir, that’s a strong exchange rate: it’s personal, practical, and keeps its value because it’s unique to you.
Who should book this workshop in Florence
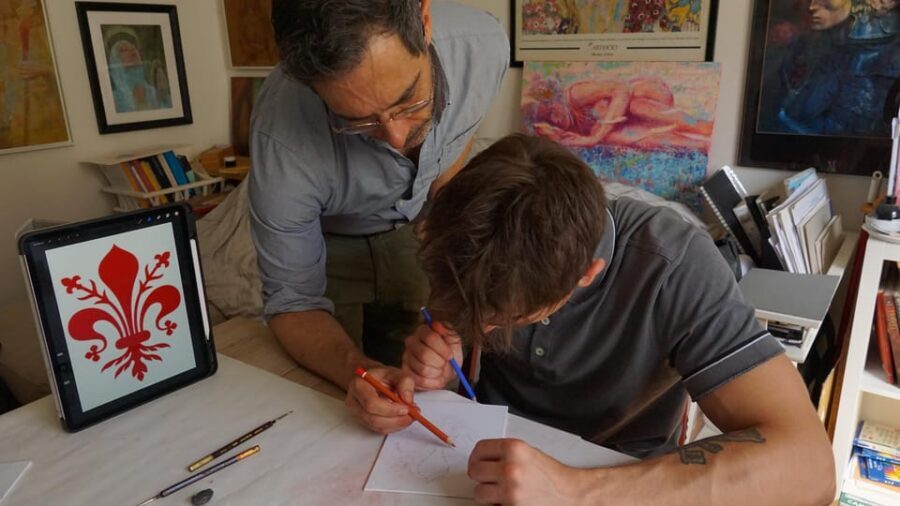
This class is a good fit if you want a Florence experience that’s creative but not intimidating.
You’ll especially like it if:
- you want a souvenir that looks like art, not just a product
- you like hands-on activities more than museum-only days
- you enjoy step-by-step projects where you can see progress quickly
- you want small-group instruction in English, Spanish, or Italian
It may be less ideal if:
- you’re looking for a long sightseeing experience
- you’re traveling with young kids (it’s not suitable for children under 10)
- you hate mess at all (you’ll use glue and powders as part of the process, so plan to wear clothes you don’t mind getting a bit work-station-y)
If you want your Florence day to include both art and walking, you can still do it. Just treat this as the focus activity and pair it with lighter plans before or after.
Booking mindset: how to plan your day around the class
The class is 3 hours, and you’ll choose from available start times when you check availability. Plan for a studio-focused block, not a quick stop between major attractions.
A good day shape:
- morning: a museum or market visit where you can move at your own pace
- early afternoon: painting class
- evening: dinner where you can relax and show off your new souvenir
Also, since the studio is on the third floor (with elevator), you’ll be happier if you arrive without rushing and without trying to carry heavy items you don’t need.
Should you book this Florentine lily class?
I’d book it if you want a Florence memory you can touch and keep, and you like the idea of learning craft techniques that create a dramatic result fast. The combination of gold foil gilding and a custom lily color makes it feel like more than a beginner craft session.
Skip it only if you really want sightseeing time over studio time, or if you’re traveling with kids under 10. Otherwise, this is an excellent use of a few hours in Florence: hands-on, small-group, well taught, and you’ll go home with an artwork you made yourself.
If you’re the kind of traveler who enjoys authenticity through doing, not just watching, this one is hard to beat.
FAQ
How long is the painting class?
The class lasts 3 hours.
Where do I meet Andrea for the workshop?
Meet at 22 Via Enrico Petrella. Buzz the doorbell Bacalini, and Andrea will open the door. The studio is on the third floor with elevator access.
What will I create during the class?
You’ll create a painting of the Florentine lily, including a gold background and a lily painted in a color of your choice.
Do I need any painting experience?
No. The activity is suitable for everyone and you do not need any prior skill or experience.
What techniques will I learn?
You’ll learn the process step by step, including shaping the lily, a dusting technique for tracing, pencil dot joining, gilding with gold foil, and tempera painting to color the lily.
What materials are included?
All materials and tools are included, such as canvas, pencils, brushes, glue, tempera, paints, props, and gold foil.
How many people are in the group?
The class is a small group limited to 4 participants.
What languages does the instructor speak?
Andrea teaches in English, Spanish, and Italian.
Is this class appropriate for children?
It is not suitable for children under 10 years old.
Can I book now and pay later, and what about cancellation?
You can reserve now and pay later. Free cancellation is available up to 24 hours in advance for a full refund.



More Tour Reviews in Florence
- Tuscany Day Trip from Florence: Siena, San Gimignano, Pisa and Lunch at a Winery
★ 5.0 · 21,634 reviews - The Best tour in Florence: Renaissance & Medici Tales – guided by a STORYTELLER
★ 5.0 · 12,316 reviews